Wednesday, July 31, 2013

Goals for August 2013

Having just started blogging, this is my first actual Goals post.

Here's what I wanted to accomplish in July:
1. Finish piecing STLMQG challenge top (Finished quilt due at September meeting) Top is done.
2. Finish writing pattern for Strip Tease and piece new top to test directions.  Done and done.
3. Post one tutorial to blog.  In work; tutorial for Charmed Snowballs is partially written but awaiting photos of the quilting.
4. Keep up with monthly bee blocks. Done.

Goals for August:
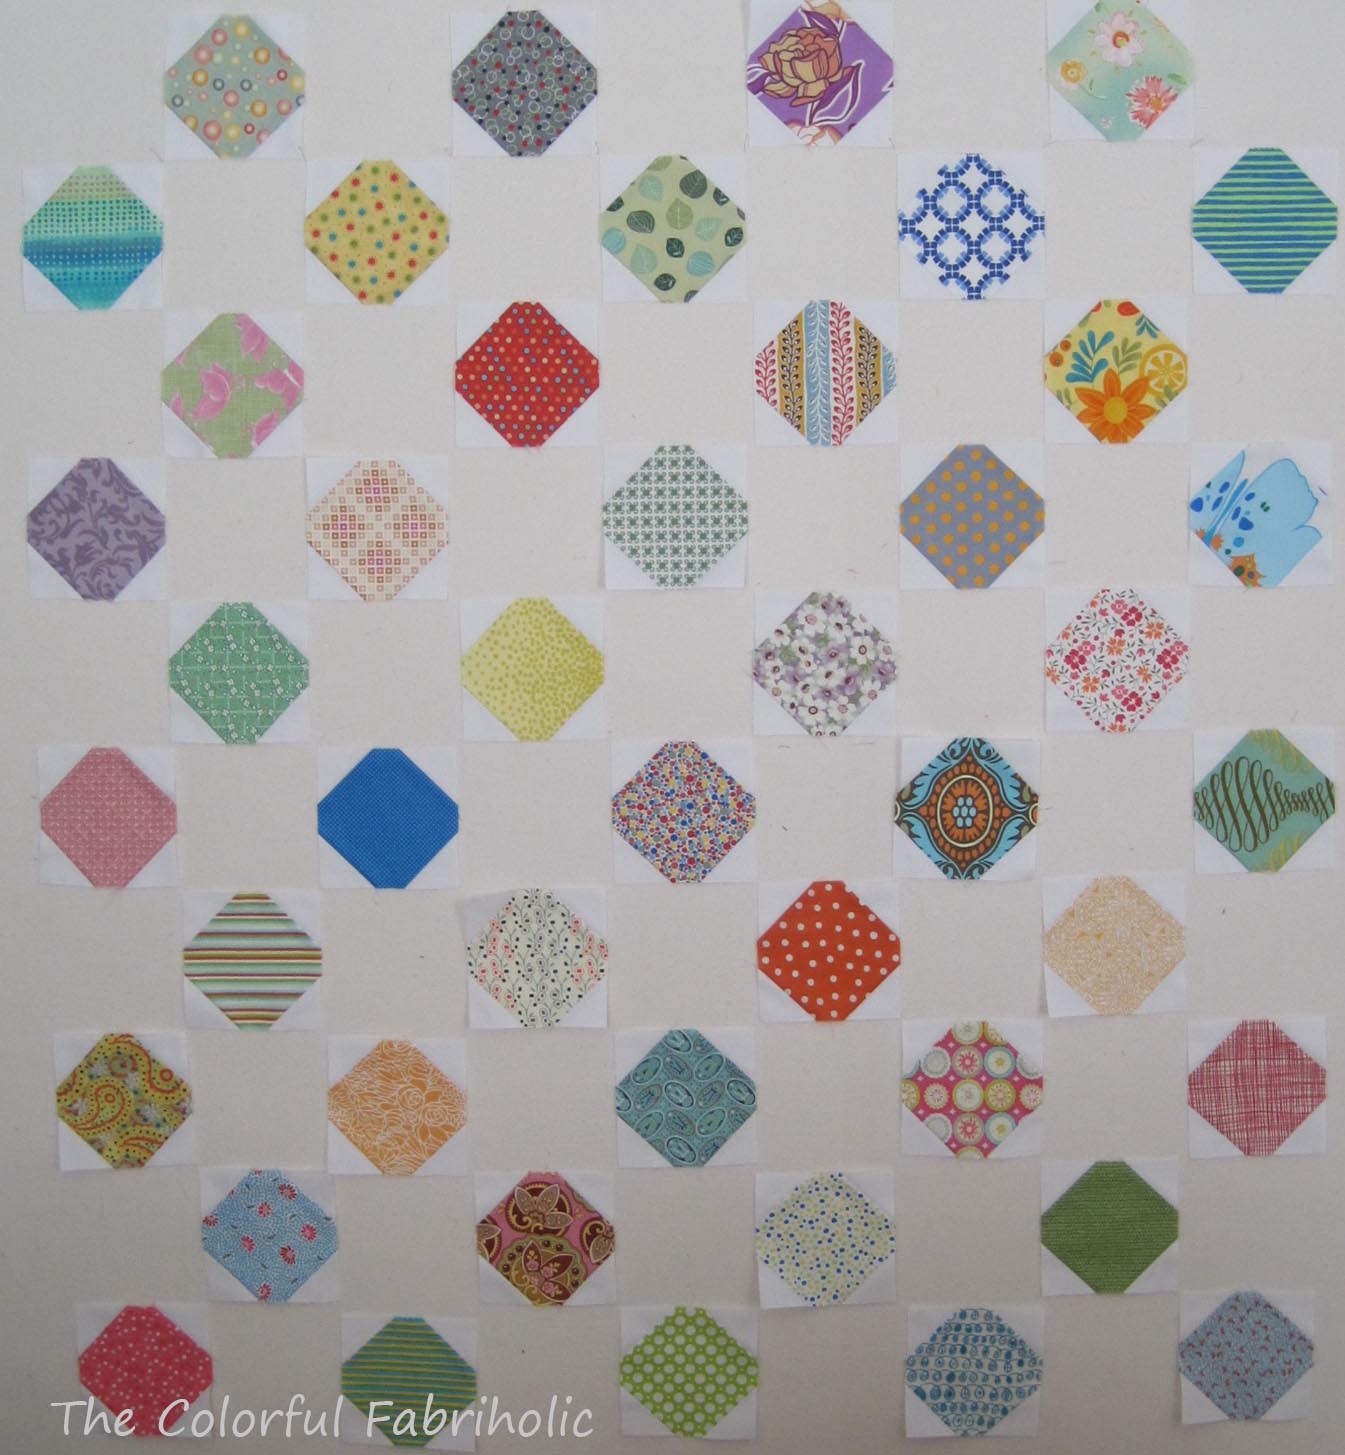
1. Quilt and finish Charmed Snowballs.
2. Finish writing Charmed Snowballs tutorial and start a new Tutorials tab in the blog.
3. Quilt and finish STLMQG Ohio Star Challenge and find someone to take it to the September meeting, which I will have to miss.
4. Get my entries together for The Quintessential Quilt 2013: labels, label covers, sleeves, entry forms sent. Give entry quilts to a friend who can turn them in on the due date, since I will be away.
5. Keep up with bee blocks and new BOM I've joined at my LQS.

Linking up with Judy at Patchwork Times, such an inspiration for keeping us all on track!

Work in Progress Wednesday - 7/31/2013

A finished top:
Charmed Snowballs

Next up, layer and baste. This is my least favorite part of the whole process.  Due to arthritis, tendonitis, inflammation, and whatever other "itises" in my hands, I don't use safety pins, too painful.  So I pin-baste with straight pins. The "itises" in my knees don't love spending a couple hours crawling around on the floor, either.  But it gets the job done and I can move on to the next step. I've tried spray basting and didn't like it, so this works better for me.
Pin Basting

Ready to quilt -
I have a wonderful sewing table from Tracey's Tables that opens up to what my husband calls "Aircraft Carrier Mode" when it's fully opened.  It's huge and I love it!  I'm starting with stitch-in-the-ditch in the straight seams, then I can remove the pins and add the rest of the quilting.  With straight pins instead of safety pins for the basting, I do get pricked and scratched up a bit during the quilting, but I've figured out how to minimize that as much as possible.
Quilting

Hoping to get the quilting finished this week.

Linking up with Work in Progress Wednesday over at Freshly Pieced - check out all the creative projects over there!

Monday, July 29, 2013

Design Wall Monday 7/29/2013

I hardly set foot in the sewing room over the weekend because the weather here was too beautiful to stay inside!  Low temps, low humidity, sunshine.  Not our typical muggy, sticky July in St. Louis.  We just had to spend some time outdoors, so DH and I went out to an event in Illinois on Saturday and to St. Francis state park yesterday.

So here's where I'm at, still snowballing along....

Rows are all assembled and some are joined together, so I'll for sure be able to get this top finished this week.  I'm not planning a border.  Finished size will be about 41 x 50, nice size for a donation for kids.  Nice size for me to manage the quilting on my Bernina, too.

Charmed Snowballs
 
I'll post a tutorial later this week.  One of the reasons I started blogging is so I can share tips, techniques, patterns and experience with other quilters who may be interested.  It's so motivating, and I am so enjoying being connected with other quilters!  I truly appreciate your visits and your comments.
 
Linking up with Judy at Patchwork Times; check out the creativity at Design Wall Monday.


Sunday, July 28, 2013

A small top assembled

I belong to the "Sew Bee It" bee of STLMQG. One of the goals of this bee is to learn or try new techniques. My turn to hand out the project was in April, and I gave everyone two Drunkards Path units to piece.  Most had never done any curved piecing. The pieces were all cut out and marked for hand-piecing if anyone was so inclined.  Everyone chose to machine piece them and they all came out fine.  I finally got them assembled into this little top, 24".  It will become either a wall hanging or a cushion when complete.
Drunkards Path

Plans for this week:  Finish the top of Charmed Showballs.  I'll show progress on Design Wall Monday tomorrow. 

Stash report - The yardage for the Drunkards Path bee blocks was already counted.  So far for July, no yardage in, WHOO-HOO!!!  I think it's the first month this year I haven't acquired any new fabric! Lots of sewing this month and some yardage to count as used so I'm doing OK this month, if I can just hold out and not buy anything for a few more days. I'll tally the total ins & outs at the end of July and post actual numbers next week.  Linking up with Judy at Patchwork Times; check out how others are managing their stashes.

Wednesday, July 24, 2013

More Snowballs - Work In Progress

More snowballs in July...


I'm working on the alternate blocks, using 5" white Kona cotton squares and 2" squares of Wordplay by Michele D'Amore for Benartex.  Same process as described in my last post, except the seam allowances are pressed toward the black corners.  Again, I press before trimming.


Here are a few of them on the design wall:


 Linking up with Work In Progress Wednesday over at Freshly Pieced; check out all the creativity over there!

Monday, July 22, 2013

Snowballs in July

This is what I have on my design wall today - little snowball blocks:
 
Snowballs on Design Wall

These are made using 5" charm squares.  Want to play along?  Here's my process.

For a 40" by 49" baby quilt I used 50  5" charm squares from various exchanges, etc., as well as some squares cut from stash.

I used white Kona cotton for the corners.  Cut 200 2" squares and mark them on the diagonal.
Marked 2" square
 
Place white squares at the corners of each charm and stitch on the marked lines.  I chain-pieced all one corner, then all the next corner, etc. 
Corners stitched to charm square


Press seam allowances toward the charm:
 Seam allowances pressed, back side

Seam allowances pressed, front side

Open the pressed corners back out and trim away the excess fabric, 1/4" away from the stitching.  I found that pressing first and trimming afterward resulted in more accurate squares and minimized stretching (rather than trimming first then pressing). Yesterday's "Pretty Pile of Points" came from all the cut away corners.
Trimming the corners away

A completed block.  Make 50 and arrange them on your design wall, leaving a same-size space in between each.
"Charmed Snowball" block

Next up, the alternate squares...

Linking up with Judy at Patchwork Times for Design Wall Monday. 


Sunday, July 21, 2013

Not quite a stash report...

The pink version of Strip Tease took 4 yards total.  No yardage in so far this month.  So far so good! I'll tally up the total ins and outs at the end of July. 

Meanwhile I've started another top which I'll show tomorrow for Design Wall Monday.  Here's part of the process:
 
Pretty Pile of Points

Linking up with Judy at Patchwork Times; see how others are doing at managing their stash.